Main Contents
May 13, 2017
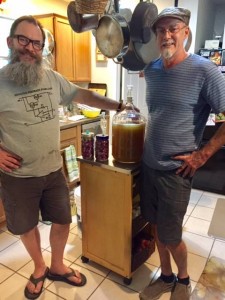 Just heard of Cyser, a cider and mead hybrid. Giving it a try. My buddy Gary came over to help.
Ingredients
- 1 gal water
- 1 gal organic apple juice – $8
- 5.5 lb local wildflower honey – $35
- ½ tsp pectic enzyme
- 1 ½ tsp yeast energizer
- Yeast: Red Star Premier Blanc (champagne) – $1
- Research: This is a low flocculation yeast. Interested in finding a high ABV, high flocculation yeast.
Notes
- OG: 1.118 @ 98 F, 14.96% potential alcohol
- 2015-05-28: FG = 0.998, 15.75% ABV. Punchy!
Log
- Cooled to ~80 F before pitching yeast. Should I have cooled it further? Forums suggest yes, saying that apples can produce icky fusel alcohols at higher temps. Crap.
- This source suggests when in doubt, use temps for white wine with mead. Crap. OK, moved it to the brew closet where temps run lower.
- Prior to pitching, mixed dry yeast with 2c of must. Whisked vigorously. After adding to the must, stirred the whole shebang vigorously with a spoon to aerate.
- 2017-05-14: Swirled with airlock on.
- 2017-05-19 Swirled with the airlock on. Then I read things about it. Doh! Aeration/oxygenation only recommended to ⅓ of sugars consumed. Swirling with airlock on doesn’t add oxygen. I’m such a newb.
- “Aerate the Must a couple of times a day for the first three days by using an aeration stone, shaking, or stirring with a Lees stirrer.”
- Lesson Learned: Do primary fermentation in a bucket. Tough to do aeration in a carboy. If I use solid fruit in the future, must be “punched down” periodically to avoid mold and CO2 buildup.
- “Check on it every couple of days to see how active the bubbling is. As soon as it slows to approximately 1 bubble every 30 seconds, it is ready to move onto the next stage – Racking.”
- Racking: “It is absolutely vital that the Mead not be mixed with too much air during racking as this will introduce oxygen that will affect the flavor.”
- “If you intend to rack onto fruit, spices, oak, sulfites, sorbates etc., add them to the secondary fermenter before racking the Mead.”
- 2017-05-23: Racked into clean carboy. Moved to kitchen the morning prior to ensure yeast settled as much as possible.
- Going to try cold-crashing for clarification. 3 gal carboy fits in wine fridge! Read more about this, don’t want to do it until I’m ready to bottle. I think I’ll rack to 1 gallon jugs at that point so more can fit in the wine fridge.
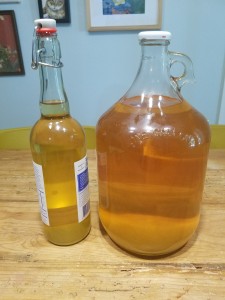 2015-05-28: FG = 0.998.
- Tasting notes:
- Nell: Goes right to top of palatte, into the nose. Can taste the achohol. Definitely a sipping thing, seems very potent. In between a fruity and a floral.
- Morg: Smells lightly floral, slightly sweet, lightly sour. Added one drop stevia to 1 oz, now ‘Nell says it’s too sweet. I kind of like it though.
- 2016-06-03: It’s almost completely clear now after a ride in the fridge. Lovely! Tasted it and I like it a lot. Sparkly and bright. Racked it into two 1 gallon jugs. Going to let it sit and mellow for a couple months.
- 2016-06-11: Transferred one gallon into bottles with priming sugar to make ’em fizzy.
- 2016-06-16: I suck at waiting and I wanted to see if I could take a bottle to a dinner party to opened one up. Completely flat! Also lost some of the flavor I liked a couple weeks ago. It seems I did a really good job of getting all the yeast out of there. Dang! Alrighty then, I’m going to force myself to wait until August and then use this method to prime the bottles with yeast: http://www.brewerylane.com/wine/sparkling-wine-champagne-method.html
Filed under: Uncategorized |
Comments (0)
April 30, 2017
F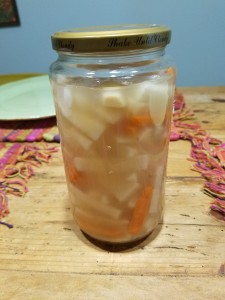 inally sharing some of my pickle adventures in detail so others can try things out.
- 1 cup daikon radish sticks
- 1 cup carrot sticks
- 6 cloves garlic
- 1/2 tsp cumin
- 1 tsp peppercorns
- sea salt
- spring water
Peel the radish and carrots then cut into sticks. Put about 6 cloves of garlic into the bottom of a clean 1 qt canning jar and pack it full of daikon and carrot. You want about 3/4 daikon and 1/4 carrot. Pack it up to about 2″ from the top.
Put the cumin and peppercorns in a re-usable tea bag, tie it tight, and put it on top of the carrot/daikon.
We want a 4% salt solution. This is really easy using metric measures…
Fill the jar to the brim with spring water. Pour the water out into a measuring cup that has milliliter markings. Divide the milliliters 100 and multiply by 4… that’s how many grams of salt you need.
Add the sea salt to the water and mix vigorously. Pour it into your jar, stopping about 1 1/2 inches from the top.
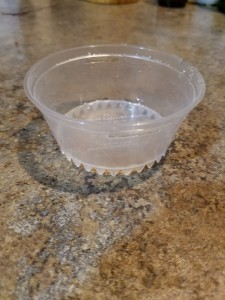 Stick one of these pickling cups in the top. I like them much better than glass weights b/c they are also a reservoir for brine that spills over due to fermentation bubbling. They also do a much better job of keeping the veg below the surface. Add a bit more liquid until the top of the brine is slightly higher than the bottom of the cup. Screw on an airlock lid.
Put the jar in a cool place out of direct sunlight. It’s a good idea to set it in a bowl for the first week in case of overflow or sputtering. Check it every day for the first week to make sure the vegetables are completely covered with brine. Bubbling pushes brine up into the cup so just open it up and pour the brine back in. After the first week you can just check every few days.
Give it a couple weeks and start tasting! When it reaches the level of sourness, acidity, and crunch that you like put a regular lid on the jar and tuck it in the fridge.
Airlock lids I’ve used…
- FermentEm – Works great! Not suitable for sauerkraut b/c kraut will spill over.
- Pickle Pipe – Works well. Requires mason jar rings and these will rust from pickle brine contact.
- “Twin Bubble” airlocks – Not a big fan. PITA to fill it and monitor water level. However, best for sauerkraut b/c the waterless locks spit and sputter with kraut. When I need more I’ll buy lids with this type of lock, easy to fill and mechanically simple.
Filed under: Uncategorized |
Comments (0)
March 5, 2017
Ingredients
- 15 lb Fuji apples – $22.50
- 2 gal organic apple juice – $18.00
- 8 oz date sugar
- Yeast: Red Star Premier Blanc (champagne, up to 17% alcohol) – $1.00
Notes
Why secondary fermenter? To get it off the “trub”, e.g. dead/dormant yeast, which can cause unwanted flavors.
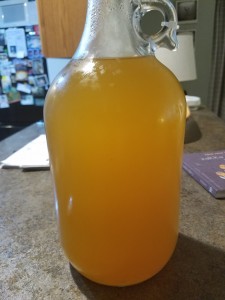
Fining
- Eggshell! Bake at 300 degrees, crumble into the wine, wait 5 days, rack it. Wait a month.
- UPDATE: Didn’t do squat! Probably clouding from set pectin during pasteurization.
- Tried gelatin. Recommends 0.5 – 1.5 tsp. Water X 25 by weight. Soak in cold water then heat until almost boiling.
- UPDATE: Still cloudy! Need pectin enzyme.
Plan
- 12D, March 18. Rack into secondary. Wait ~2 weeks.
- D, April 3. Eggshell treatment. Wait ~5 days.
- D, April 9. Rack into conditioning. Wait 2 weeks.
- D, April 23. Taste. Bottle it?
- Hrm… did not take notes. Dates drifted.
Review
Initially, we did not like it much. After repeat exposure though we began to like it…. even Lynell!. It’s very dry as desired but also sour. After the last racking, I put the jugs and growlers into the wine fridge at ~47 F. Seemed to improve the taste but remains very cloudy.
Filed under: Uncategorized |
Comments (0)
March 20, 2016
Kathy P suggested a craft day so we all gathered on the back porch to make useful messes.
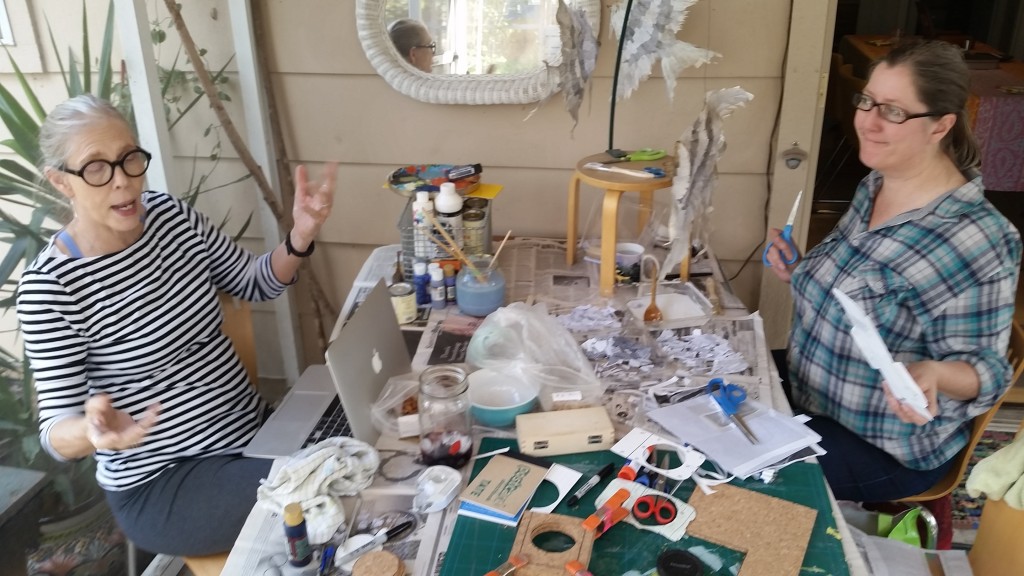
Lynell painted a birdhouse, Kathy worked on her paper mache angel fish, and I made a wireless charging cradle.
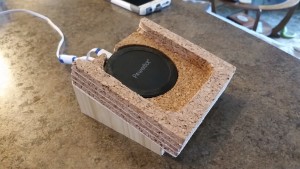
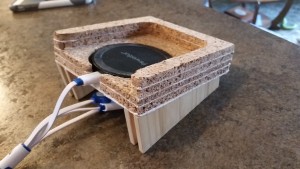
Filed under: Uncategorized |
Comments (0)
September 26, 2014
I had some trouble setting up IntelliJ with the Atlassian SDK. Time to contribute!
Maven Dependency Resolution
Initially the generated sample project had compile and POM errors flagged in Intellij.
First I tried cribbing from the Netbeans instructions by adding the Atlassian repos to my POM. No dice.
I decided to start over. In the Import Project dialog I saw there are settings for the Maven environment. Eureka!
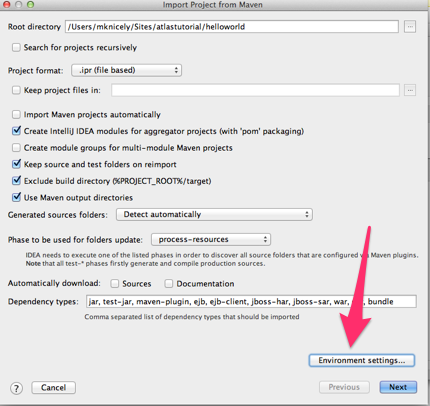
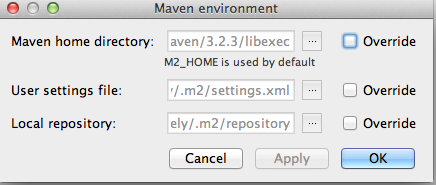
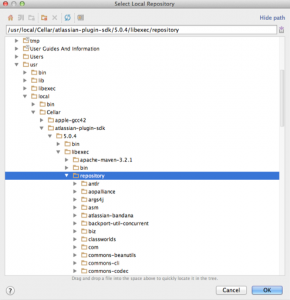
Later you can find these settings at Preferences -> Maven
Run Inside the IDE
From the docs… “While it’s possible to run the Atlassian Plugin SDK commands from within IDEA as custom run commands, in practice, most developers simply use IDEA for code editing and debugging, and use a separate console to run the atlas-run, atlas-debug, or other Atlassian Plugin SDK command.”
I don’t want to be snarky but… maybe that’s because it’s not documented? I don’t love remote debugging, it’s more steps and multiple tools. I love the way IntelliJ hyperlinks class references in console output so stack trace investigation is one click away. Errors in startup output are hyperlinked too. It’s a waste of time to copy-paste a bunch of code references from my terminal. Looking at the atlas-run script it’s nothing fancy, just $MAVEN_OPTS, etc. See https://developer.atlassian.com/display/DOCS/atlas-mvn
Here’s how you do it.
- In the IntelliJ Run/Debug Configurations add a new Maven runner.
- Working directory should be your project directory
- Command line should be com.atlassian.maven.plugins:maven-amps-dispatcher-plugin:5.0.4:run –global-settings ${M2_HOME}/conf/settings.xml
- Important: The placeholder M2_HOME doesn’t work… you have to replace it with the “Maven home directory” value from Preferences -> Maven
Hrm… it runs fine but didn’t stop at the breakpoint for my plugin.
Debug Inside the IDE
I haven’t figured this out yet. I’ll update the post after I start my new job at Atlassian on Monday!
Filed under: Uncategorized |
Comments (0)
August 18, 2014
After a long hiatus I buckled down to get going again with the printer. I used the “nylon cold pull” technique to clear the nozzle… pretty slick trick.
Ok here goes… Gumby Guns.
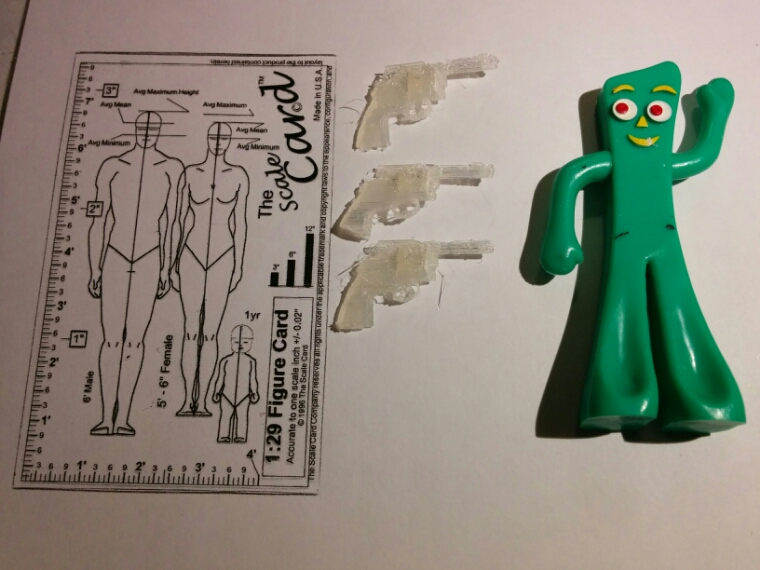
Gumby, a train scale card, and his weapons.
My buddy Greg runs model trains and has cooked up a whole village of Gumbys and Benders to run the place. Some of the Gumbys are cops so they need guns. Among other things.
Really small things are tough to print! True 1:29 scale it’s too small even with 0.1mm layers so I doubled the size. I plated then upside down, barrel parallel to the bed and the grip sticking up. The pic is of my first batch. What you don’t see are the other three that got borked by as melty plastic booger on the nozzle. I managed to print a solo pistol with the barrel filled in, etc and it came out better. When I try to do groups though the nozzle drags a bit and knocks em off the plate.
Gonna try placing the group at a 45 degree angle to see if that changes the path of the printing head. Also going to try a lighter touch on the bed leveling… I tend to adjust it down right to smoosh the first layer.
Filed under: Uncategorized |
Comments (0)
July 2, 2014
Yay finally! I swapped out the cheapo PLA I got from Amazon for the good stuff from Matterhackers. Working great!
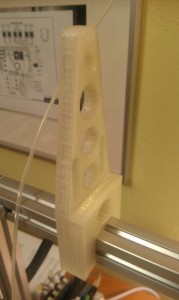
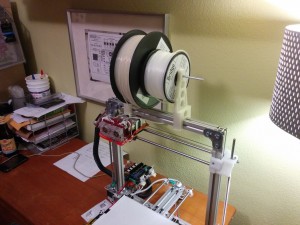
For more nerdy fun here’s video of it working…
OK so with PLA mastered I was ready to tackle my dream… a cooler latch with a living hinge! This has become my “white whale” project.
Many many many test prints later I can say with authority… Nylon is really difficult to print with. I’ve tweaked my printer and filament profiles every which way but what I get is more like a water filter than solid plastic. The flexibility is there (essential for a living hinge) but the rest of the piece is nowhere near usable.
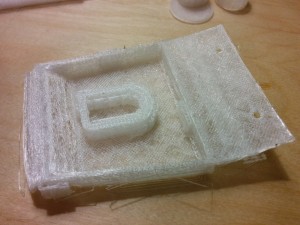
My first attempt. Interesting but non-functional
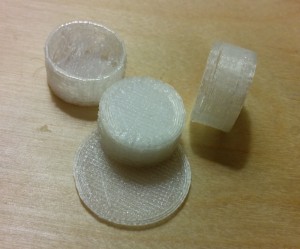
After that I printed many many test pieces. Bad de-lamination and rough top surfaces. Top left is an attempt to “bridge”, standard in test pieces. See all the stringy bits? Not good.
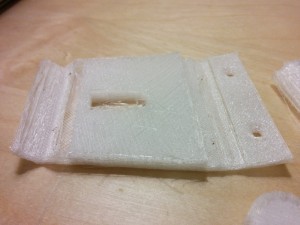
I redesigned it to be solid, thinking that would make those parts more robust. No dice.
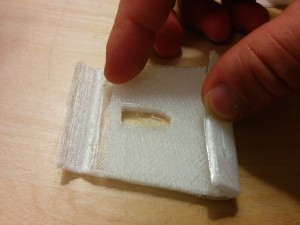
The living hinge part works great! Unfortunately the rest of it is super flexible too.
For now I’m giving up on Nylon… I’ll come back to it. Thinking about taking advantage of the dual nozzles to print PLA for hard bits and Nylon for flexible bits, all in one part.
In the meantime, time to learn my way around ABS. My friend Stuart needs a fan shroud for his mini server in a closet, perfect candidate for that material. Also Greg wants me to print some accessories for the Gumby’s that run his model trains.
Filed under: Uncategorized |
Comments (0)
June 14, 2014
Huzzah! After breaking a bunch of glass, cursing Kapton, and putting my laptop in the shop I finally have my calibration print. Not done yet… hopefully I’m not jinxing it.
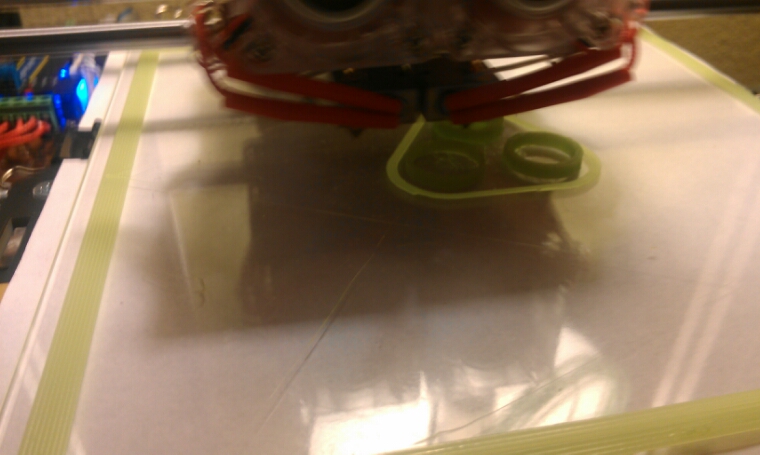
My build plate temperature control seems to be stuck, it goes all the way to max no matter what I set it on. It’s at 150c! Much too high.
This broke the glass I started with and several pieces of window glass and mirror before I learned about Borosilicate glass (heat stress resistant).
Applying skinny strips of Kapton tape is maddening. Instead I’m spraying hairspray on the glass and printing directly on it. Works great! We’ll see how hard it is to remove the print.
Aaugh! The printer stopped due to MAXTEMP. Time for some more Googling… at least the print came off the plate real easy!
Filed under: Uncategorized |
Comments (0)
May 18, 2014
Finally I have time to continue!
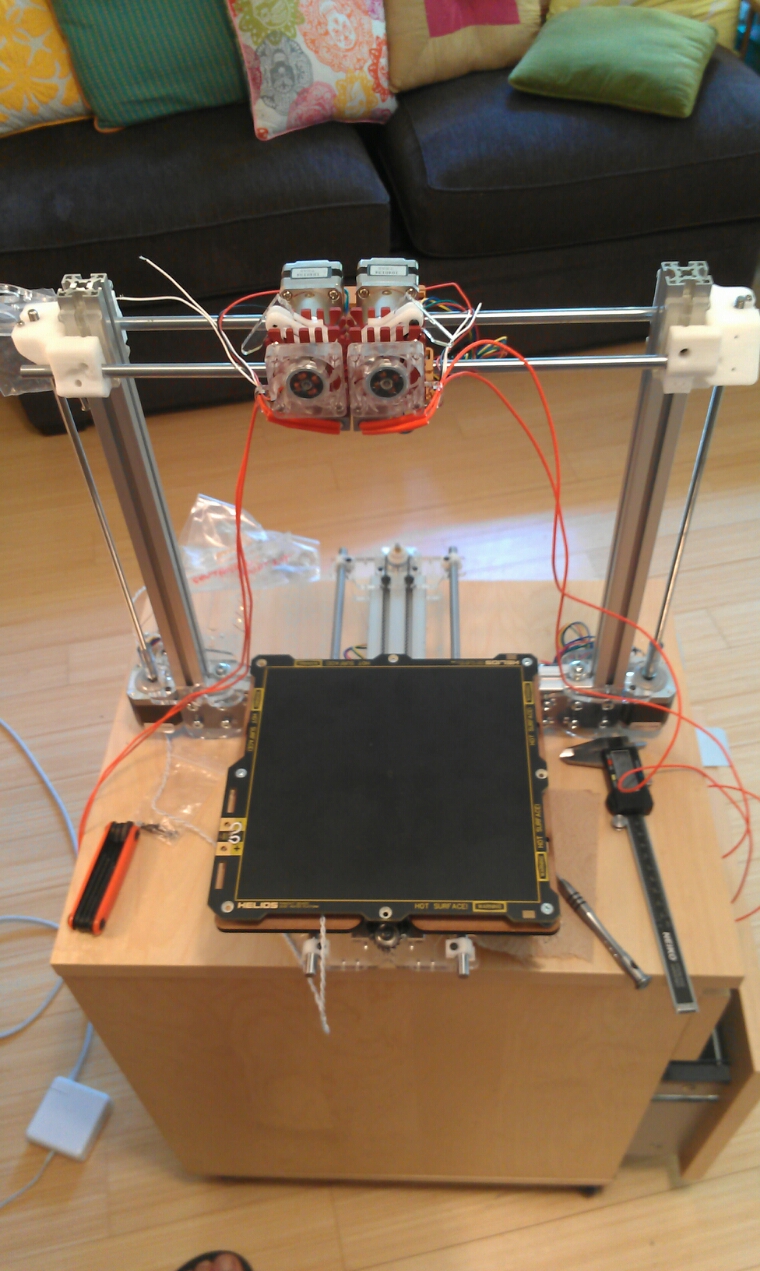
Heated bed and extruder in progress.
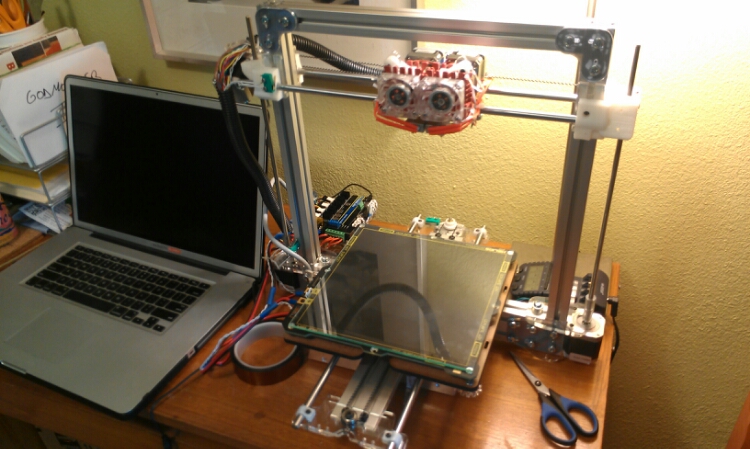
Fully assembled!
Ok now how do I run this thing? 😉
Filed under: Uncategorized |
Comments (0)
May 11, 2014
My Bukobot kit arrived yesterday so this morning I got to work. So many parts! I’m in nerd heaven.
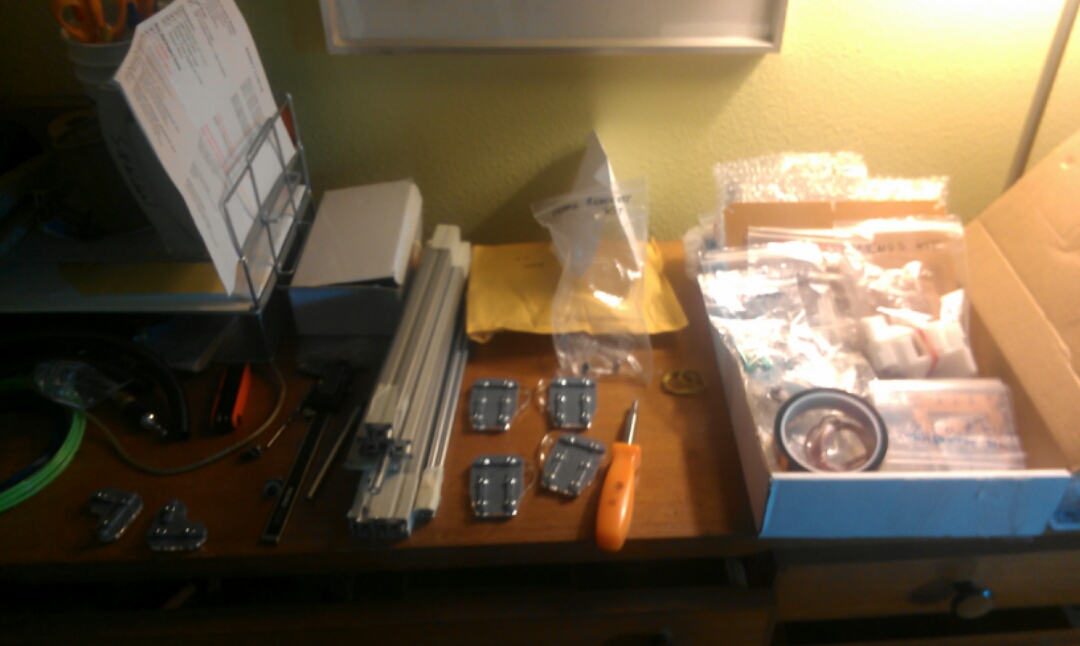
Frame brackets kit in progress
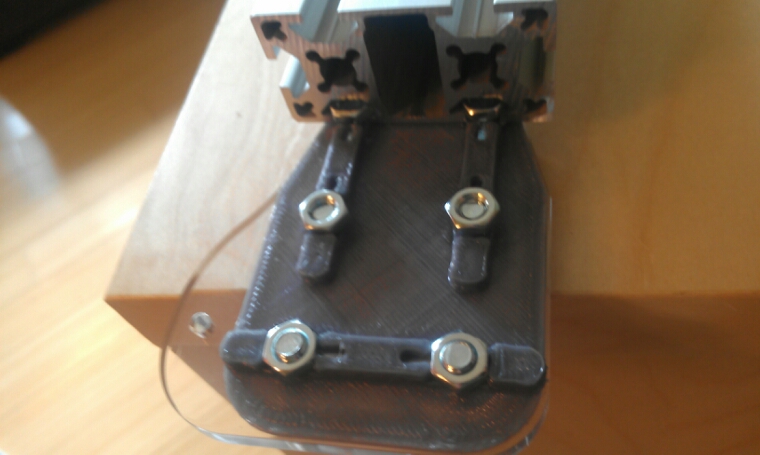
Amazingly clever design!
Whoever thought up this system for connecting milled aluminum bars was a genius. See how the clearance of nuts above the brackets creates slots for the aluminum channel? Also, the channel gap just the right size to hold the 5mm nuts from turning when you tighten the screws.
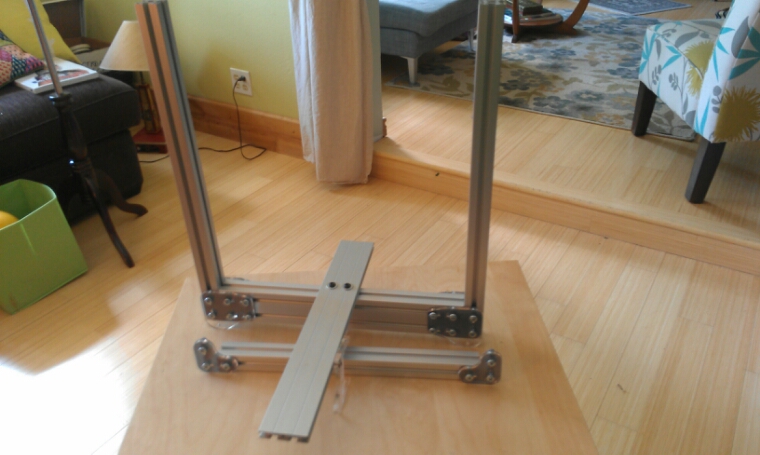
Frame Bracket Kit complete
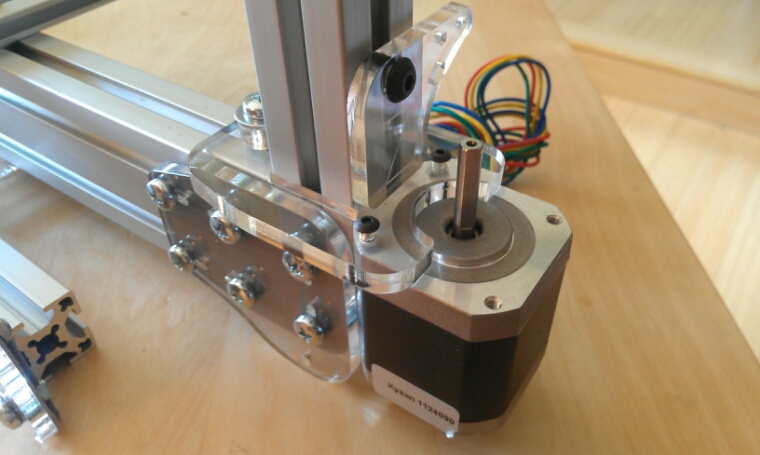
Z-motor Kit complete
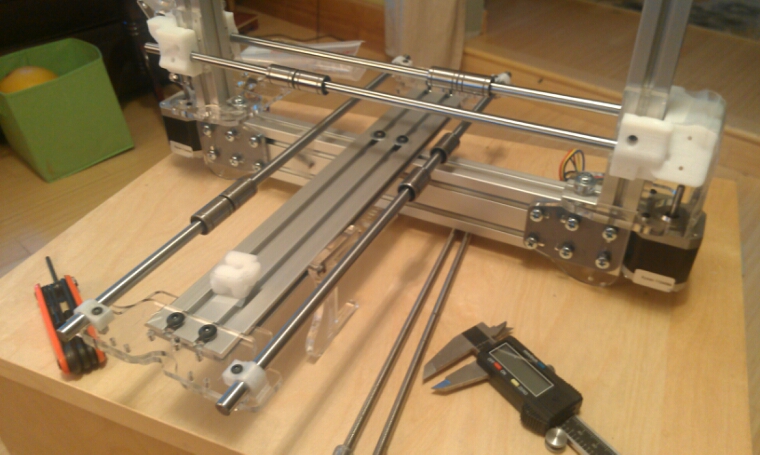
X Nnd Motor Assembly and X/Y Rrods and bearings
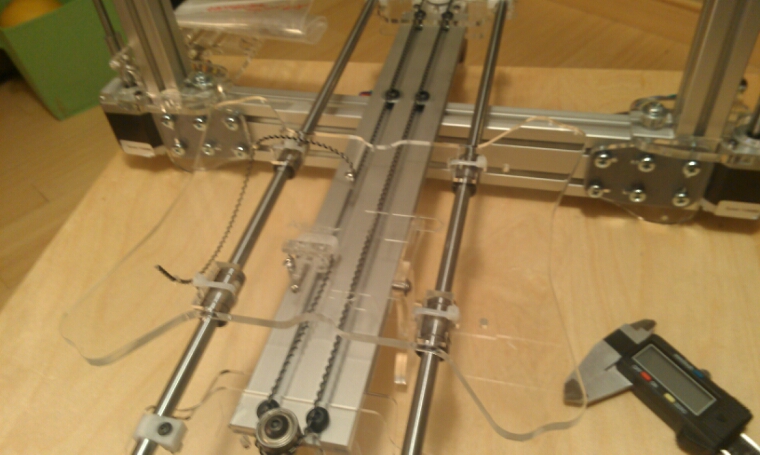
Bed attached to Y axis
OK that’s it for today.
Filed under: Uncategorized |
Comments (0)
 Just heard of Cyser, a cider and mead hybrid. Giving it a try. My buddy Gary came over to help.
 2015-05-28: FG = 0.998.
 inally sharing some of my pickle adventures in detail so others can try things out.
 Stick one of these


